
I can NEVER enjoy enough flowers - Real, Artificial and even FELT Flowers!
Some time ago I did a tutorial on how to felt flowers by layering shaped felt - yep, I love me some felt!
Well, I've been trying to use up lots of supplies in my studio (so I can justify adding more to my stash) and my FELT is something I've been trying to use up.
So, I'm gonna show you how to make some cute ROLLED flowers out of felt today. Yes there are dies you can purchase to make these flowers, but why spent the moolah on a die when you can do the same thing with a few extra minutes, a piece of felt, some sticky tape and a pair of scissors.

Really - this is All you need!
Piece of Felt, Super Sticky Tape and a pair of GOOD scissors that will cut 2 layers of felt.
So, here's a little pic tutorial step by step - Please ignore my nails that are in terrible need of a manicure. =)

So, here's a little pic tutorial step by step - Please ignore my nails that are in terrible need of a manicure. =)

Okay, so first, cut a piece of felt about 7" long and 2" wide. This size will change depending on how BIG you want to make your flower. The more you make - you'll find which size and style works for you.
I like to make mine small enough for cards.
I like to make mine small enough for cards.
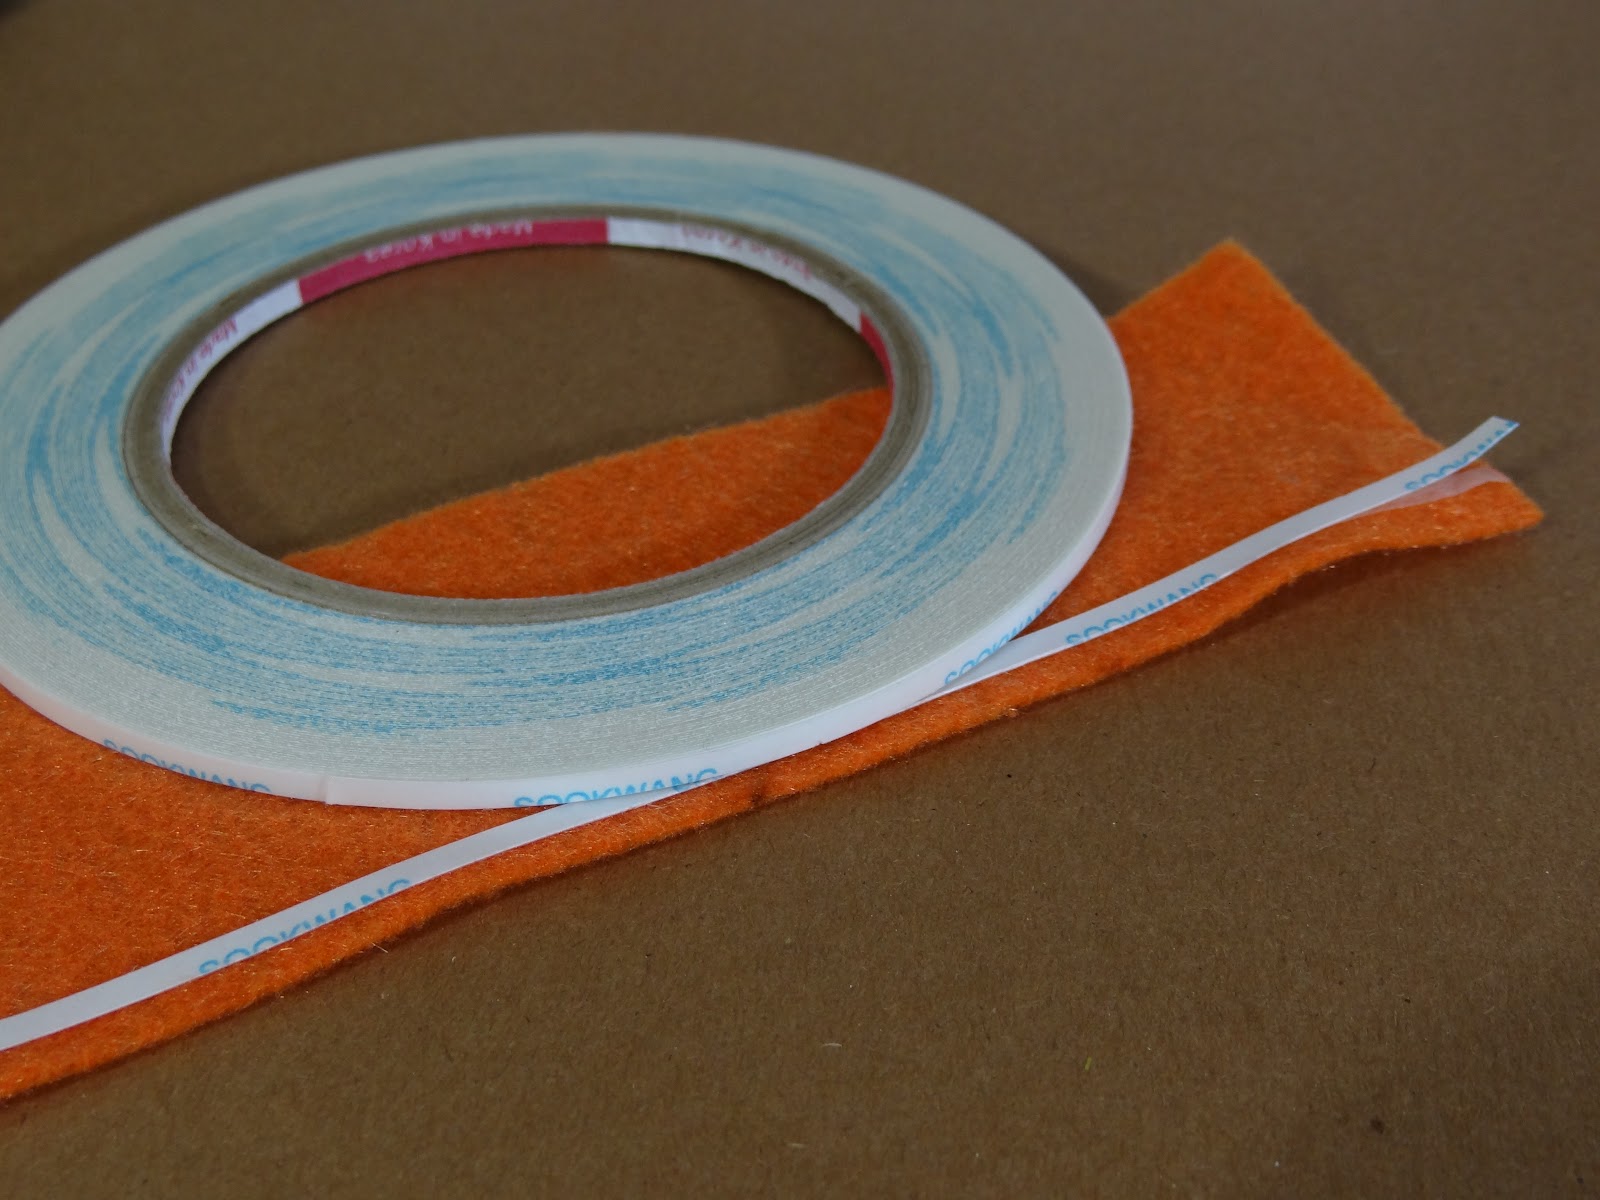
Along one LONG edge, use Super Sticky Tape to run the entire length. I use the 1/8" Scor-Tape - thanks to my sis Shelly, I LOVE this stuff


Grab your scissors and snip the folded side of the felt about every 1/4" about 3/4 of the way down.

Do this for the entire length of the felt piece.

This is where the FUN begins. Begin rolling the flower. I usually put some type of glue right in the beginning (so it sticks) and then a good amount of tape at the end.


Make sure it's good and stuck together.

This is a pick of the bottom of the finished flower. You can glue a round piece of felt to the bottom if you want - if I'm putting it on a card, I just stick some good sticky on the bottom - no need for extra felt.
Now you can tinker with the petals and make it look like a flower. You can add button in the center, bling, or just leave it along like I did on this one.

Be sure to check back on Thursday and see the finished card with this flower.
AND - if you like this cute little rolled flower, you can jazz it up a little bit and make this fun SPIKEY Flower (pretty unique name, huh). This flower is made by cutting ALL the LOOPY part of the flower once you've rolled and stuck it. I added a little bling into the center of this one for a snowflakey look.

So there you have it - your own little felt flower garden for your cards!
Hugs & Happy Days!

It's a cute flower.
ReplyDeleteHugs Miranda
Really adorable, but doesnt it stick way off of a card? I am thinking this would be really great on some of my multimedia projects.
ReplyDeleteI LOVE these flowers and would not have ever thought to use sticky tape! These would be gorgeous on Bean's head...as in a barrette or something ;)
ReplyDeleteWow, thanks so much for this awesome tute! Always wanted to know how to do that and I have some felt that needs to be used ;)
ReplyDeletefabulous! will definitely have a go!
ReplyDelete(Lyn)